Parts of the violin explained
For all beginning violin players, it’s important to familiarize yourself with the names and functions of each of the different parts that make up your instrument. This understanding will allow you to better care for your violin, recognize when re-tuning, restringing, or replacement of a part is needed, and aid you in the production of truer sounds and richer tones. Furthermore, a thorough knowledge of the different parts will create a greater personal connection between you and your instrument, instill a deeper appreciation for its history and construction, and make for a fuller and more engaging experience while playing. Below, you’ll find a detailed breakdown of the violin’s unique parts, each crucial to producing the distinct sounds of this age-old instrument that we all know and love. Let’s start from the top:
Violin Scroll
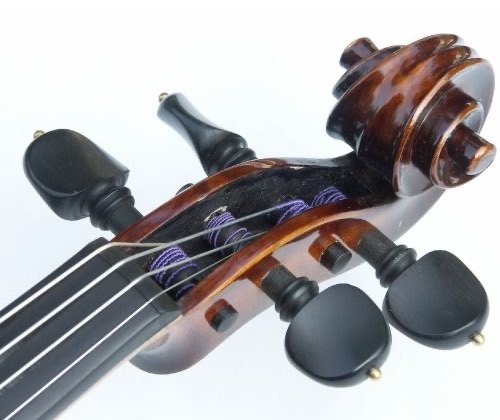
The very top or endpoint of the violin (when held in its playing position) is called the scroll, identified by the distinctive curl design that all string-family instruments share. Centuries ago, the decorative wooden scrolls were often adorned with intricate carvings of figures or animals to showcase the craftsman’s woodworking skills. Today, in a similar fashion, the scrolls serve as a sort of signature of the violinmaker who crafted the instrument. Overall, the scroll’s function is mainly aesthetic, although it does play a small role in the production of sound.
Violin Pegbox
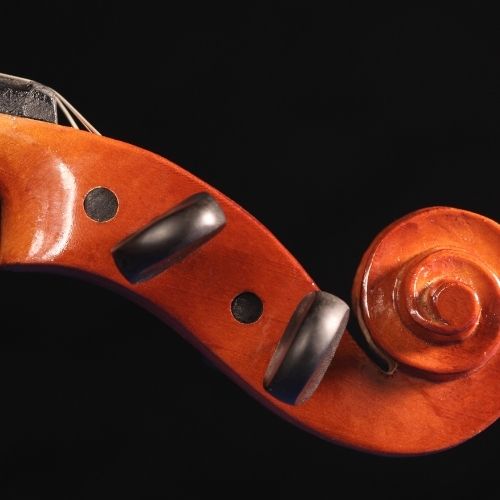
At the base of the scroll, you’ll find the pegbox, which houses the ebony (wooden), key-shaped pegs that are used for tuning the violin. When installing the strings, the pegs are first inserted through small holes on the side of the peg box, and after the strings have been attached, the pegs can then be turned little by little, winding the string around the peg, in order to tighten the string, increase the tension, and tune the instrument properly. The pegs are cone-shaped to better hold the pitch and stay fixed in place.
Nut
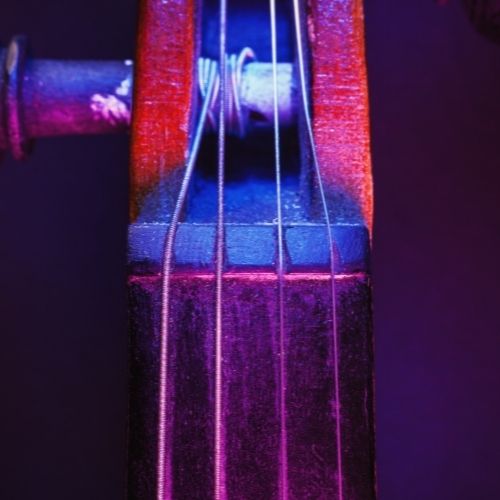
The small, slightly-raised, and crucially-important connecting piece between the peg box and fingerboard is called the nut, which has four grooves carved into it allowing for the strings to maintain proper spacing between them and remain slightly raised above the fingerboard. When replacing the strings on your violin, or upon finding that the strings are very loose, you should always double-check that the strings are resting correctly in their grooves here at the nut before tightening the strings.
.
Fingerboard
The smooth, black surface underneath the strings is called the fingerboard, which is where you will place your fingers while playing. Made from ebony and glued to the neck of the violin, the fingerboard allows for smooth transitions between notes as your left hand moves up and down the neck. Why ebony? Because ebony has excellent acoustic properties and is strong enough to withstand the pressure of the strings and your fingers without leaving grooves.
Neck
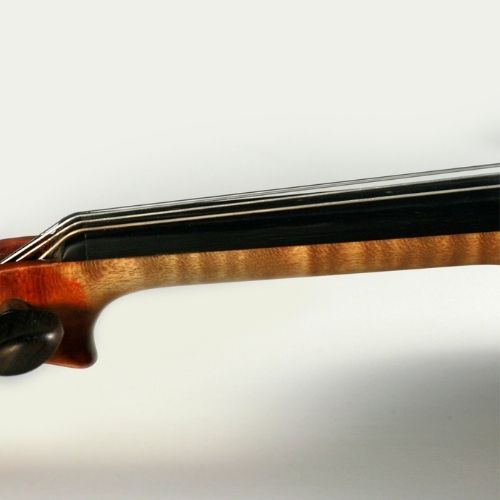
The neck of the violin, which has the fingerboard glued to the top of it and connects the peg box to the body, is the part of the instrument that sustains the majority of the stress made by the strings. You will find that modern violins include a longer and more slender neck than those you may have seen on older instruments designed during the Baroque period; this shape and design has evolved over the centuries to increase the ease of playing and reaching all of the strings.
Violin strings
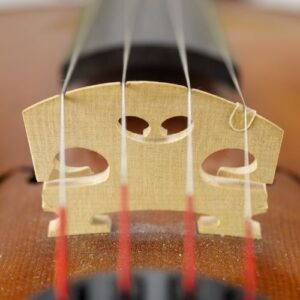
The four strings of the violin are tuned to the notes G, D, A, and E, from lowest to highest. Violin strings are generally made from a variety of metals (aluminum, steel, and sometimes even gold for the E-string), but you will also find strings made from synthetic materials. Additionally, the tradition of “gut” strings (literally made from the intestines of animals) is still upheld today in Baroque playing, albeit not as common in classical violin. It should be noted that each of these different materials will produce a unique range of sounds and tonal qualities, which can make a significant difference in your playing.
Violin body
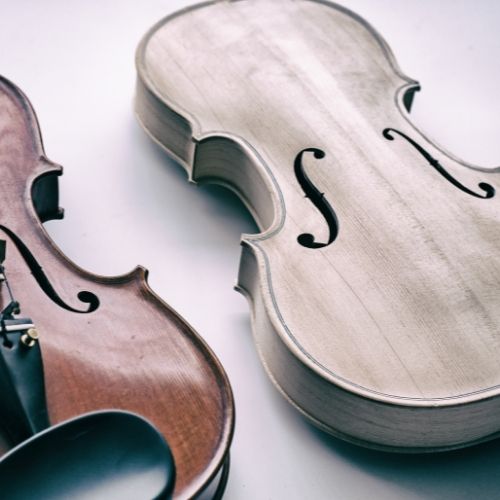
In acoustic instruments like the violin, the sound of the notes is amplified by the body, where the vibrations of the strings reverberate. The body of a violin can be made from a variety of woods, and it is common that the backside or underside of the body consists of two separate pieces that are joined together, forming a seam down the middle. Less common are one-piece backs, which are generally preferred by more experienced, high-level players as they increase the resonance of the notes and produce better tonal quality. In general, spruce is used for the front-plate, while maple is used for the back-plate, rib (the joining piece between front and back plates), and neck.
Bridge

The bridge of the violin is the thin piece of maple wood that is fitted to the body a few inches after the fingerboard ends. The function of the bridge is to hold the strings above the fingerboard and guide them to the tailpiece. Fiddle and bluegrass players prioritize a flatter bridge, which allows them to more easily play multiple strings at the same time. No matter your preference or music style, all bridges feature ridges or grooves similar to those found on the nut in order to keep the strings fixed in place and evenly spaced and angled. It is also common to find high-quality E-strings (those plated in gold such as Pirastro Gold E string, or other precious, more expensive materials) wrapped with a small plastic tube just above the bridge so that the string doesn’t cut into or damage the wood.
Fine tuners
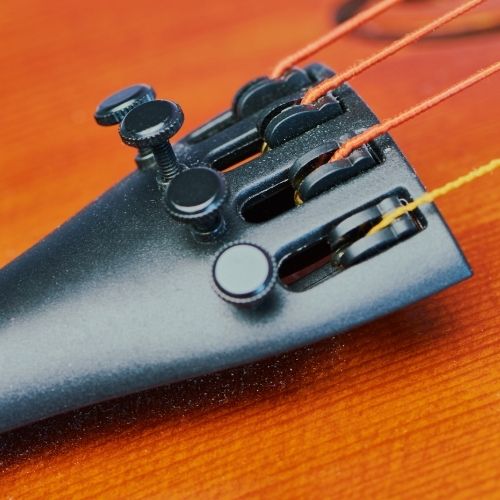
Fine tuners are most commonly found on the E-string, which produces the highest notes and is therefore the most sensitive to slight differences in tuning, but you may also see violinists (mostly beginners) with fine tuners on all four of their strings. The screw-and-lever construction of fine tuners allows for more precision when tuning and makes it far less likely that you will break a string while tuning.
F Holes
When the vibrations of the strings reverberate inside the body of the violin, the sound waves escape through the F Holes located on either side of the bridge. This lowercase “f” design was developed during the Renaissance period and replaced the C and S shaped holes that had been used in similar acoustic instruments preceding the violin. Many beginning violin players will direct their F Holes towards their audience in order to allow them to hear the violin better and catch the best sounds. This would of course be unnecessary when playing an electric violin or while playing with a microphone.
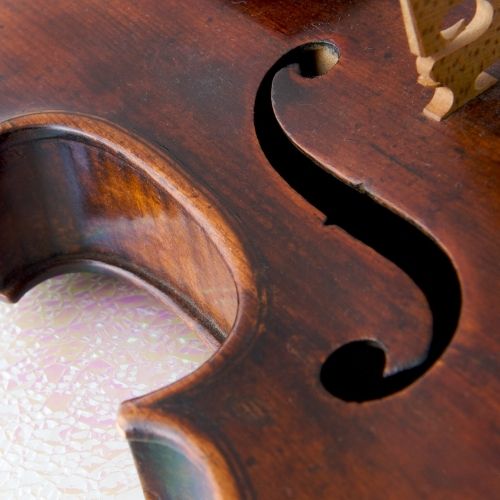
Sound Post
Installed inside the body and directly under the bridge of the violin, the sound post is a small wooden dowel that connects the front piece and back piece. Held in place by friction, the sound post plays a crucial role in sound production and tone while also supporting the overall structure of the instrument by bearing the weight of the pressure applied by the strings and transmitted to the bridge. Without a sound post in your violin, the tension of the strings pushing down on the bridge could cause serious damage to your v
Tailpiece
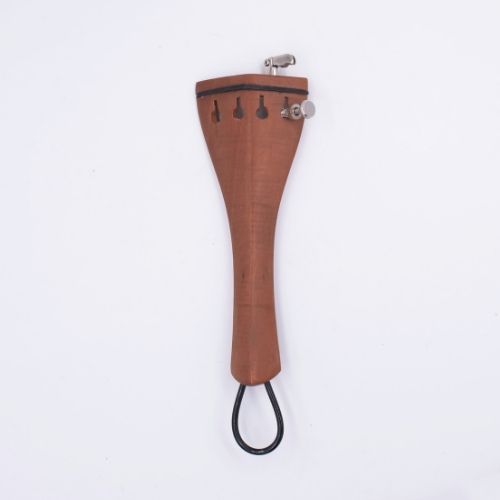
The tailpiece of the violin is the shoehorn-shaped structure, usually made of wood or plastic, that sits behind the bridge and serves as the anchor for the strings. Most violinists agree that the tailpiece has a huge effect on tone, and there is a major sound and aesthetic difference between those made from wood and plastic. In general, wooden tailpieces are best because they weigh less and transmit sound better.
Chinrest
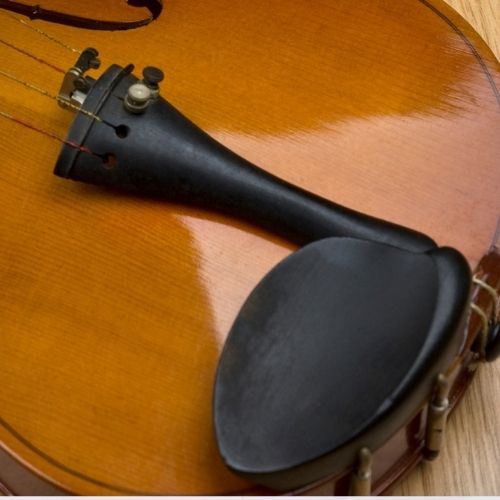
Chinrests are a relatively modern invention and addition to the violin instrument. The function of the chinrest is to add extra support for the player while playing, enabling him or her to hold the violin more steadily between their chin and shoulder and allow their left hand more freedom to move up and down the fingerboard. Violins are generally sold with a chinrest installed, and it is common and highly-recommended for players of all ages and skill levels to choose their individually selected chinrest from the large variety of chinrests on the market to increase their range of motion and comfort.
Parts of the violin bow
Bow Hair
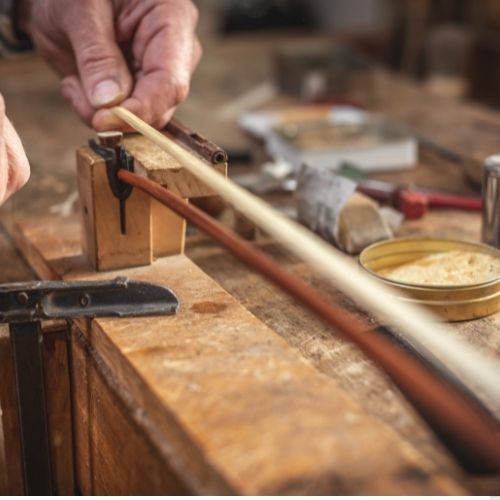
The part of the bow that touches the strings while playing is called the hair, as it is traditionally made from horse hair or a synthetic material (not recommended) that closely resembles hair. Before playing, it is important to make sure that the strands of hair are well-rosined in order to make a better, smoother, and more maximized connection with the strings and avoid producing slipping sounds or making soft, whisper-like sounds.
Bow Stick
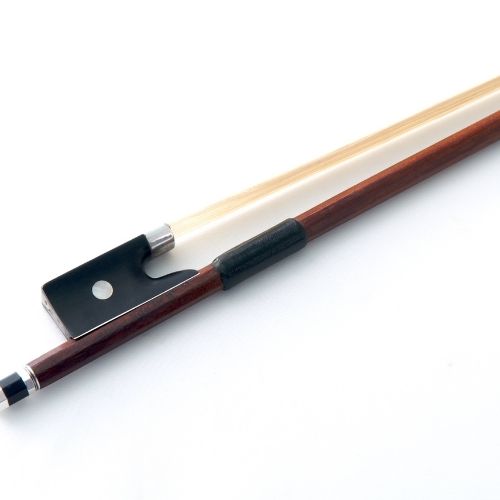
The stick is the main part of the bow, opposite the hair, and is generally made of pernambuco wood to ensure strength, support, and flexibility. A good quality bow will be flexible enough to bend slightly during the loosening and tightening process of the bow hair, while also being light and well-balanced, enabling the player to perform more advanced and technical movements such as spiccato, which is when the bow bounces off the strings between each note. The most expensive bows can cost up to $20,000 or even more because of the wood, craftsmanship, balance, individual characteristics, and time and skills required to make it.
Frog
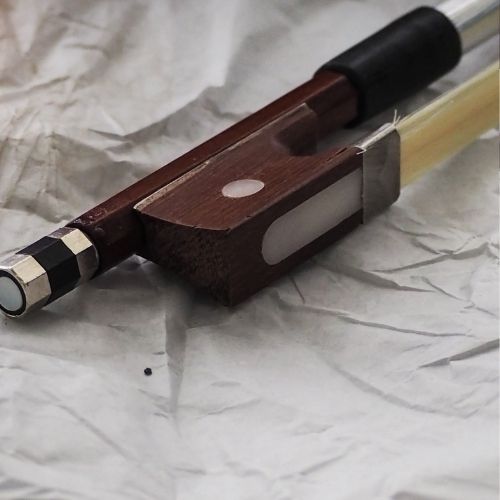
The part at the bottom of the bow where all the pieces come together is called the frog (origin of the name is unknown). Often made from ebony or sometimes plastic, this is the part of the bow that the violinist holds in their hand while playing. The screw on the backside of the frog serves as the tightening mechanism for the hair of the bow. When the screw is completely unscrewed, the frog comes off the bow, and when it is tightened appropriately, the tension of the hair increases.
Now that you’re more familiar with the parts of your violin, you’re ready to start practicing! Contact me today to set up your free trial lesson!
