Violin fingering G string and pinkie finger placement
Left-hand angle for playing on the G string
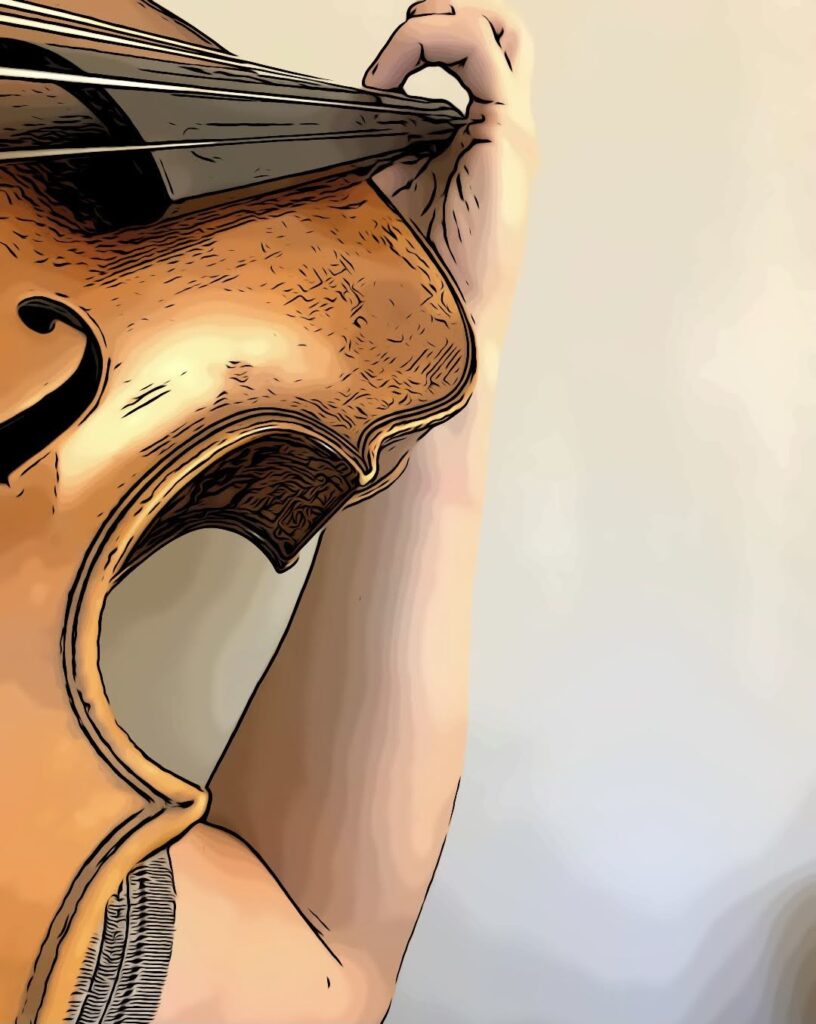
Before you start playing on the G string, let’s make sure that your hand is angled appropriately. This will make it easier for you to play all the notes, even with the pinkie finger. Because the G string is the lowest string, it can also be the hardest to reach. Therefore, we will need to slightly move the left-hand elbow to the right (inward) so your wrist and fingers will be moving towards the G string.
Don’t forget to move the elbow back to the left ( outward) when you play on the higher strings such as E or A. Playing with the 1st finger on the G string is easy. But if you place the 4th finger (pinkie) on the G, you may feel some tension and stretching. It is the shortest finger, and if you have shorter hands or a shorter pinkie, it can even be harder to reach the string. But let’s see if we can help him out!
Step one to improve your pinky finger position
The first thing you have to do is move your left-hand elbow to the right( inward). This will bring the pinkie finger closer to the G string, the left hand closer to the violin’s neck, and your knuckles more in line with the fingerboard. Let’s compare two images below:
Incorrect elbow position
Here we can see that the elbow is too far and we cannot comfortably reach the G string with the pinkie
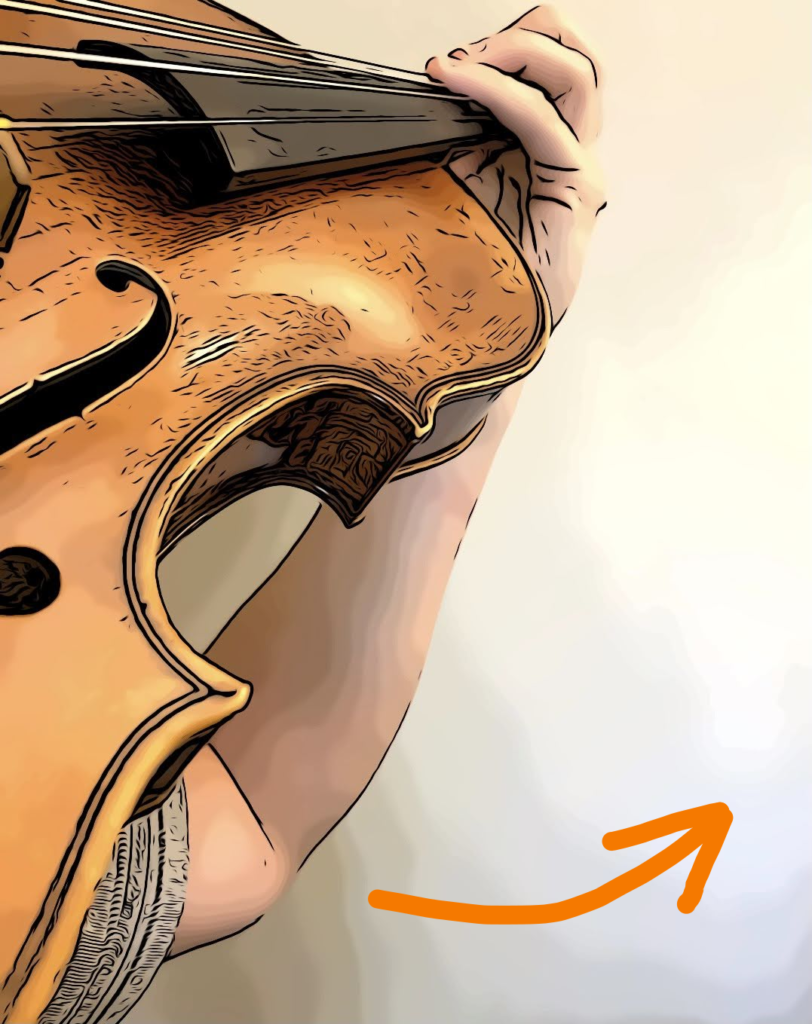
Correct elbow position
We moved the elbow to the right (inward, or closer to the body) in order to allow our pinkie finger to be closer to the G string so that we don’t have to stretch it anymore.
Step two: Wrist rotation
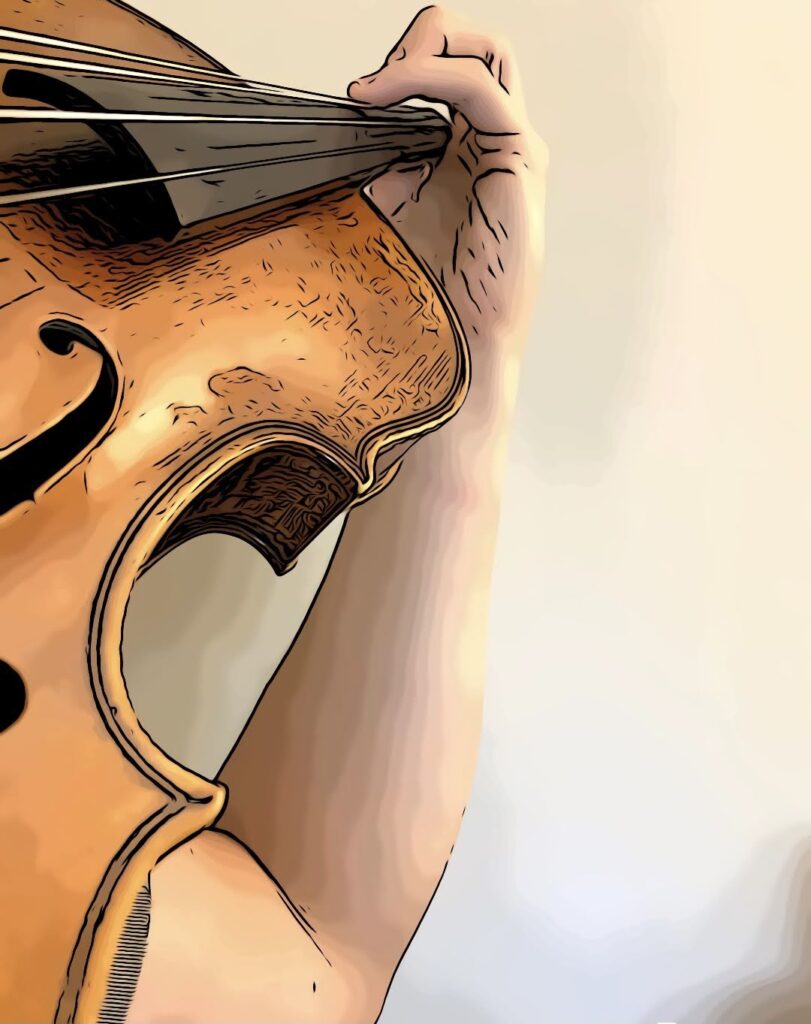
The second thing you can do is rotate your wrist towards the pinkie finger so that the base joint of it comes closer to the string by only changing the wrist’s angle.
Pinkie is too far
As we can see, the pinkie finger is too far from the violin’s neck and will not be able to reach the string with this wrist angle. Therefore, we have to move the base knuckle of the pinkie finger closer to the fingerboard.
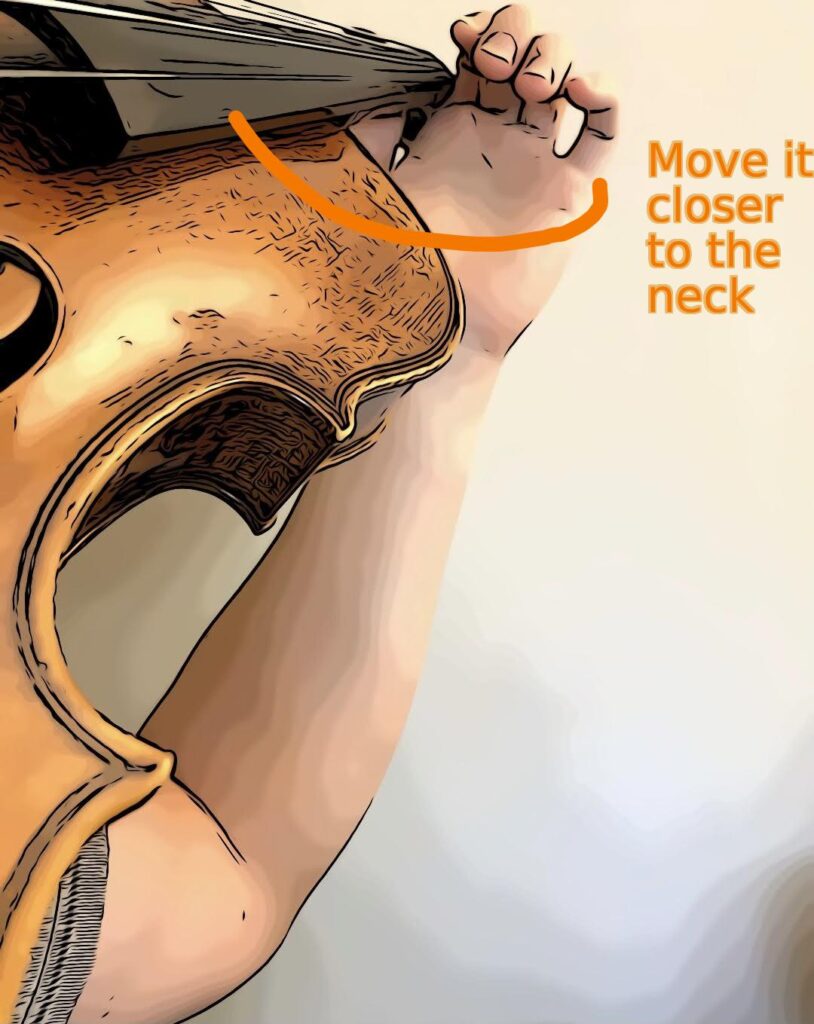
Pinkie,wrist: correct position
As you can see, I moved the pinkie finger closer to the fingerboard so I can reach any note on any string. The wrist rotation is a very important element in correcting the pinkie finger position.
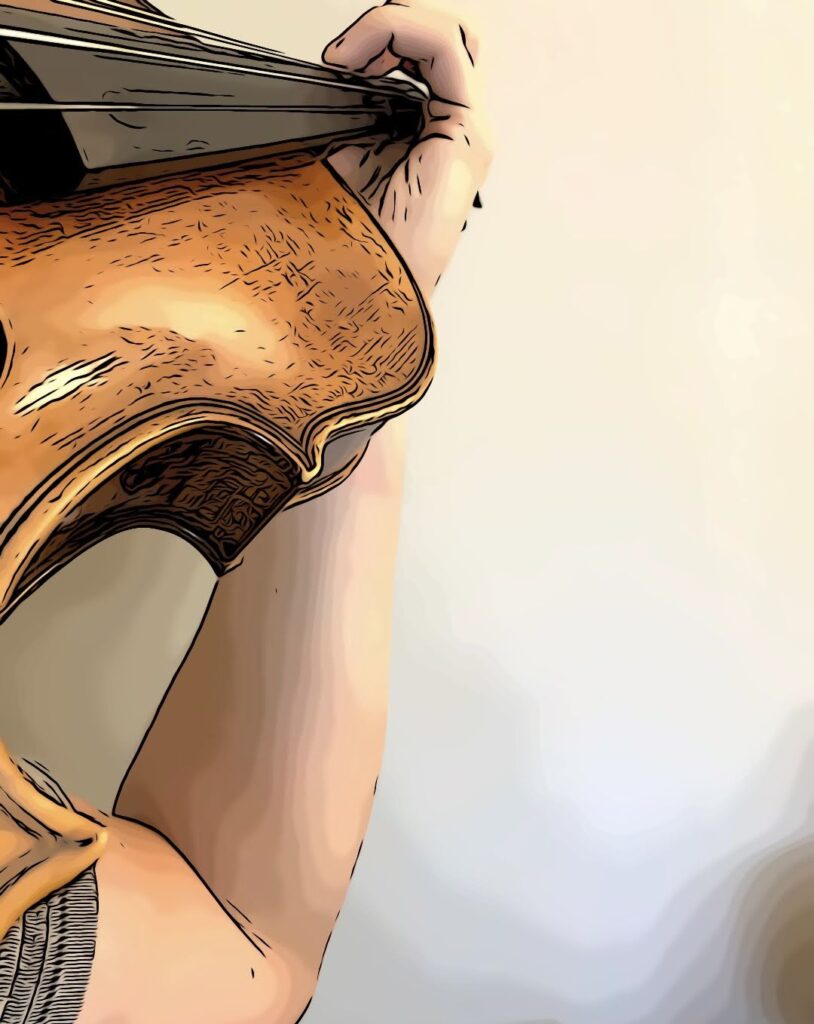
Step three: is your pinkie too low?
Pinkie is too low
Here you can see that the base knuckle of the pinkie is too low, and even if I move it closer to the fingerboard, I wouldn’t be able to play comfortably.
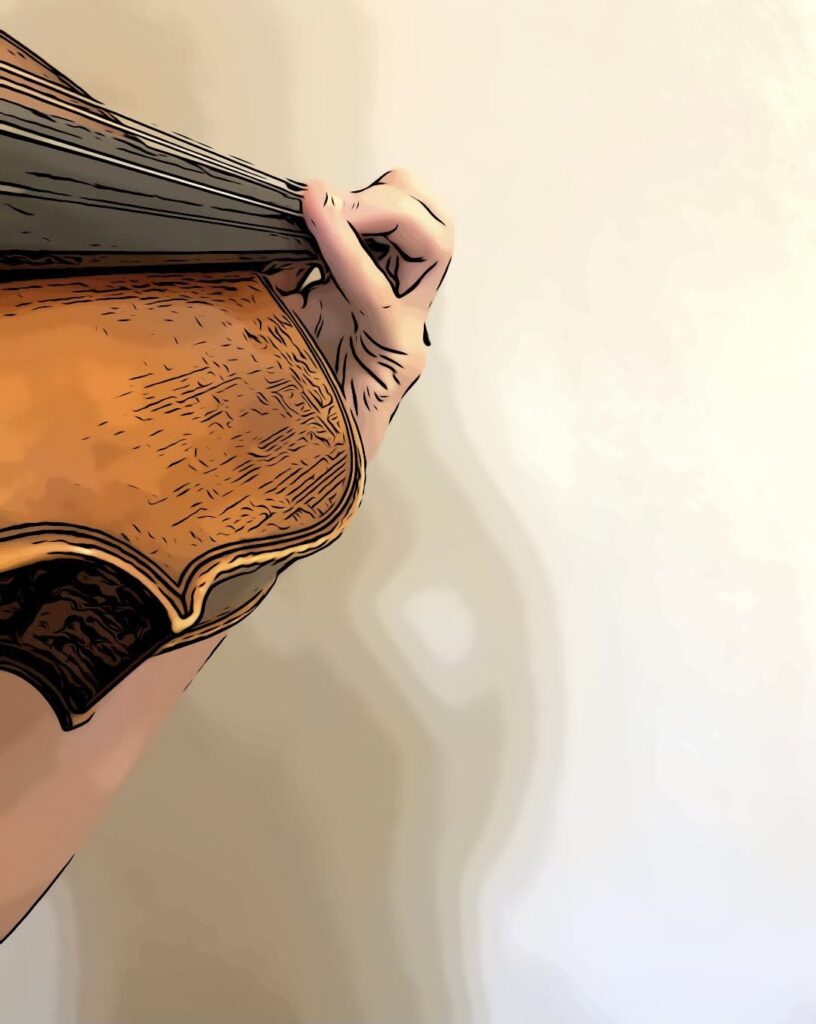
Pinkie: Correct height
I raised the base knuckle of the pinkie finger so it is positioned at the same level or higher, above the fingerboard.
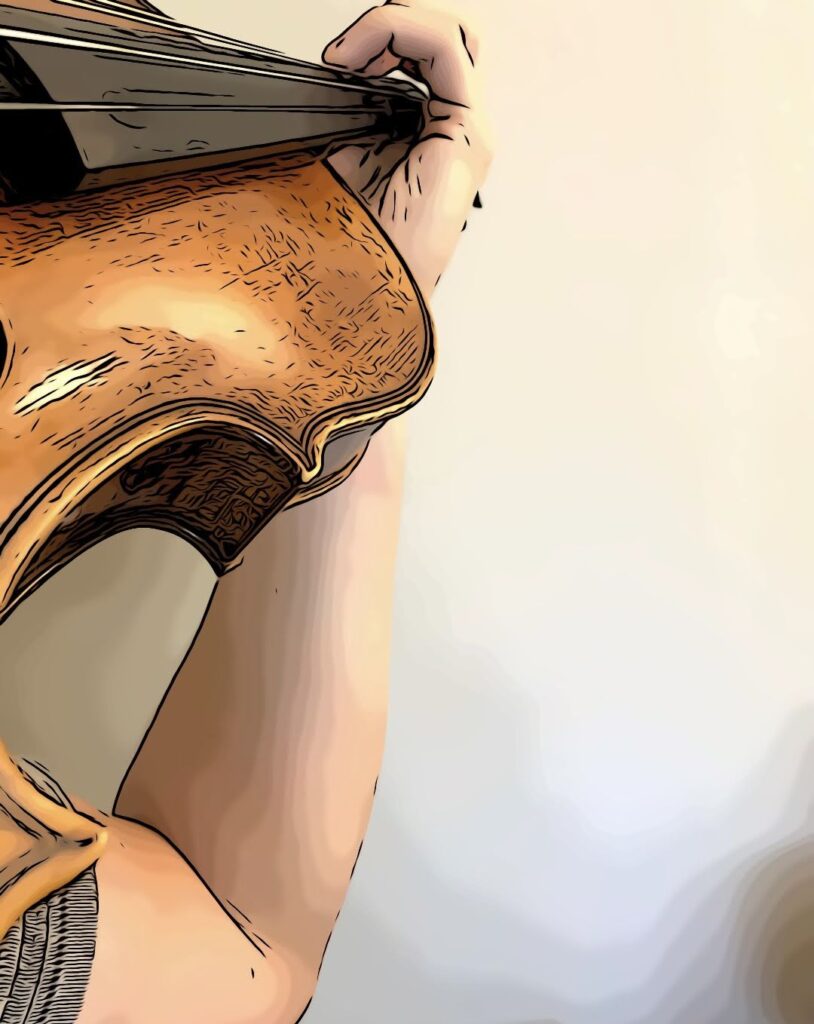
Tapping exercise
Practice tapping (pinkie finger exercise).
For most people, the pinkie is the weakest finger. So when we are talking about technical playing, etudes, or music with passages and scales involving the pinkie finger, or even vibrato with the pinkie, we have to consider practicing some strengthening exercises.
The basic idea of these exercises is to make slow repetitive movements with the pinkie, which will train its muscles and consistently enhance its power and stamina.
Make sure that your fingers are nicely curved and the base knuckle of the pinkie is at the same level as the fingerboard. Rotate your wrist to the right to move it closer to the neck and align the base knuckles with the strings. Right now, when you place the pinkie on the string, you see that it stays curved and doesn’t flatten out too much. Try to keep the other fingers on the string and start tapping with 4th finger in slow tempo. Place the pinkie gently on the string and lift it with energy. Consider doing this for at least four cycles and then take a rest. You can increase the number of cycles gradually. Stop when you feel fatigued. Let your muscles relax and rest before starting again. ( add GIF)
After doing this exercise for at least a few days, you can gradually increase the speed and tap faster. Again, don’t forget to take a rest. You will soon notice improved strength of the 4th finger, which will help you feel more confident and play more comfortably.
The last step would be playing with the bow and repeating the same exercise. This time you don’t necessarily have to keep all of your fingers down on the string; you can vary them by tapping and lifting the ring finger only, then tapping and lifting the middle finger only, and then the ring finger followed by the pinkie finger
There is a very helpful book with exercises for the left hand called “The School of Violin Technics” by Shradieck. I recommend it to all of my students who need to improve their left-hand technique.
Read more:
If you have more questions, you are a student or a parent, and want to improve your violin playing, or looking for a violin tutor, you can schedule an online violin lesson with me clicking on the link below.


