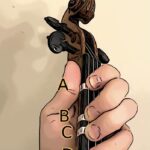
Violin fingering, notes and finger placement on A string
Violin fingering
The violin has four strings: G, D, A, and E, from lowest to highest. We tune them in perfect fifths. Thus, if we are on the G string, the fifth note, played with the fourth finger on the G string(4th string), is note D, equal to open string D( third string). The fifth note on the D string is A, identical to the open A. And finally, the fifth note on the A string is E, corresponding to the E string.
In the beginning of your violin journey, you probably wonder what is violin fingering and where to place your fingers on the fingerboard. First of all, we will have to understand that there are three basic left-hand positions on the violin. In the beginning, we usually learn how to play in the first position. It is the position where the left hand is close to the scroll or the nut. Each specific location of the left hand is called a position, which allows us to play the violin in tune by finding exact pitches related to this position.
How can I find first position on the violin?
First position is the most fundamental position for all violinists. It is the first hand position which we learn in the beginning of our violin journey. We call it the first position because it is the first stop on the fingerboard where we place our first finger. If we are on A string, the first stop on the fingerboard after open A is B, this is where we put our first finger.
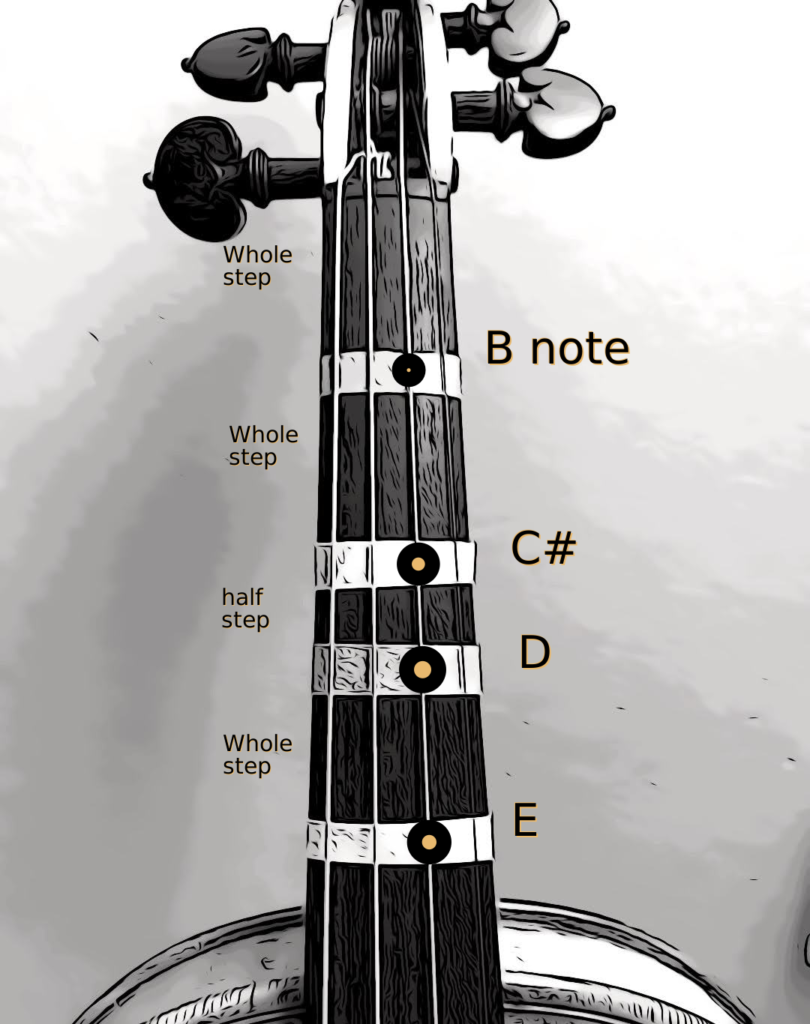
Violin does not have frets, practice intonation instead.
If you play guitar, you will quickly realize that the violin is a bit more complicated instrument. It doesn’t have frets or marks on the fingerboard like a guitar does, so it is more challenging to play in tune from the very beginning. In violin fingering we have to rely on our ears to play the correct pitch. For this reason, many beginners use a fingering chart, or they place sticky tapes on the fingerboard, showing them where to place their fingers. The second way to play in tune is to pay closer attention to intonation or pitch. However, this will only work if your ear is trained well enough to recognize the right pitch. Once you have developed this skill, you can continue training your ear, which will make playing in tune much easier for you because your intonation will also improve. Consequently, your fingers will develop muscle memory, so they will know where to fall on the fingerboard.
Let's summarize
Let’s briefly summarize what you know. In violin fingering, the 1st position is where you place the first finger to produce the next successive note after any open string such as G, D, A, and E. As you can guess, every next finger you put on the fingerboard will ring the next consecutive note.
Accidentals: sharps, flats, naturals
Let’s go to the A string and find out what notes we can play in the 1st position. Here is a violin fingering chart for the A string and a photo of the left hand with fingers placed on the fingerboard. The first finger placed on the A string will produce note B, the second finger- note C or C# ( C sharp), the third – note D, and the last finger, the pinkie – note E. If you are not yet familiar with the (♯) symbol, it means that the pitch of the note is raised a half step higher, and when you play this note you will move your finger a half step higher on the fingerboard. The (♭) flat symbol, is similar but the opposite: it lowers the pitch by a half step, requiring you to move your finger in the opposite direction. To be clear, any sharps or flats are played with the same finger as normal, just moving up or down the fingerboard a half step in either direction: half-step lower for flats (♭) or half-step higher for sharps #. By the way, any sharps # or flats ♭ are also called “accidentals” in the music world because they are notes produced outside of the recently applied key signature. There is one more accidental which you might find when playing music, and it is called (♮) – the natural symbol. This symbol doesn’t raise or lower the pitch; instead, it returns the previously altered note to its original or natural pitch within the same measure.


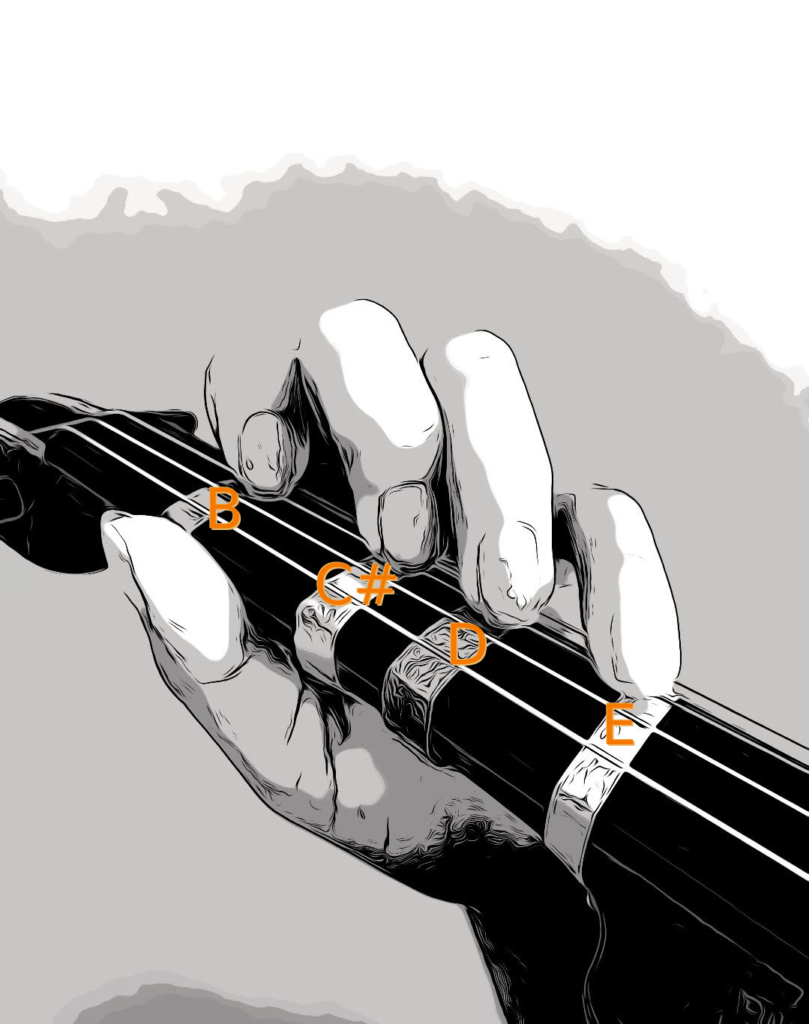

Playing B note on A string
Look at this image on the right. A violinist is playing B note on A string. Notice that all of his fingers are rounded and relaxed, the thumb is also rounded and slightly touches the neck of the violin, the wrist is slightly bent and equally relaxed, and the left hand is close to the scroll while in 1st position.
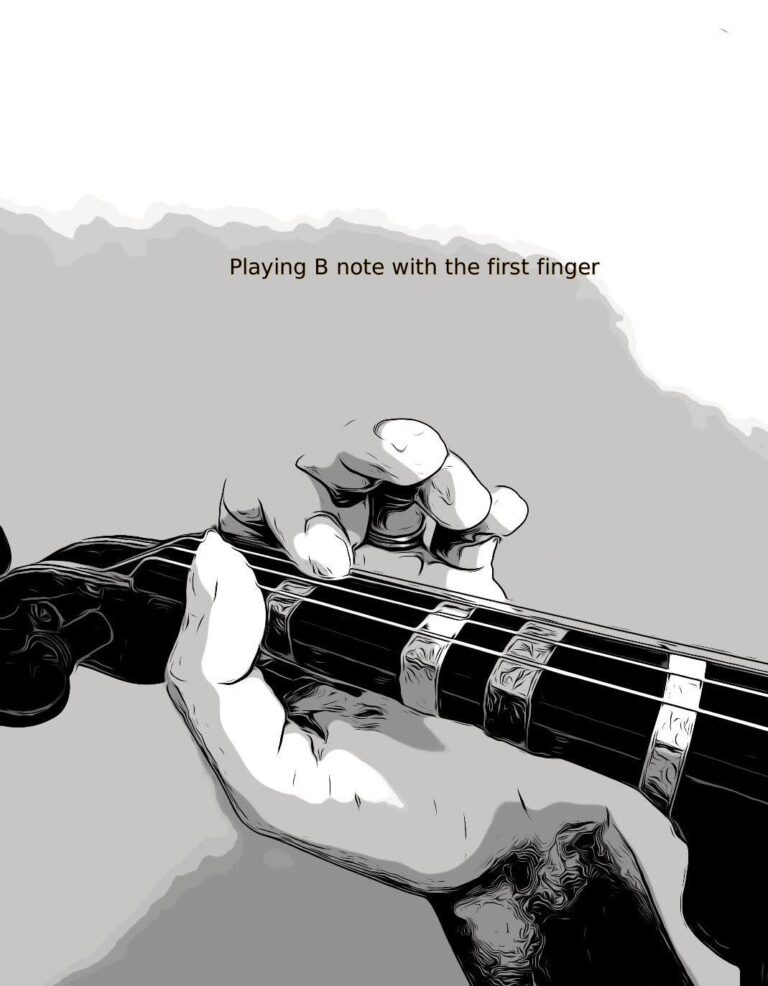

C# on A string with the second finger
The distance between B note and C# is a whole tone, therefore we have to place our second finger slightly further up (towards the body) on the fingerboard. The first finger stays on the string even if you are not using it. We want to make sure that if you go back to B note, the finger will still be there.
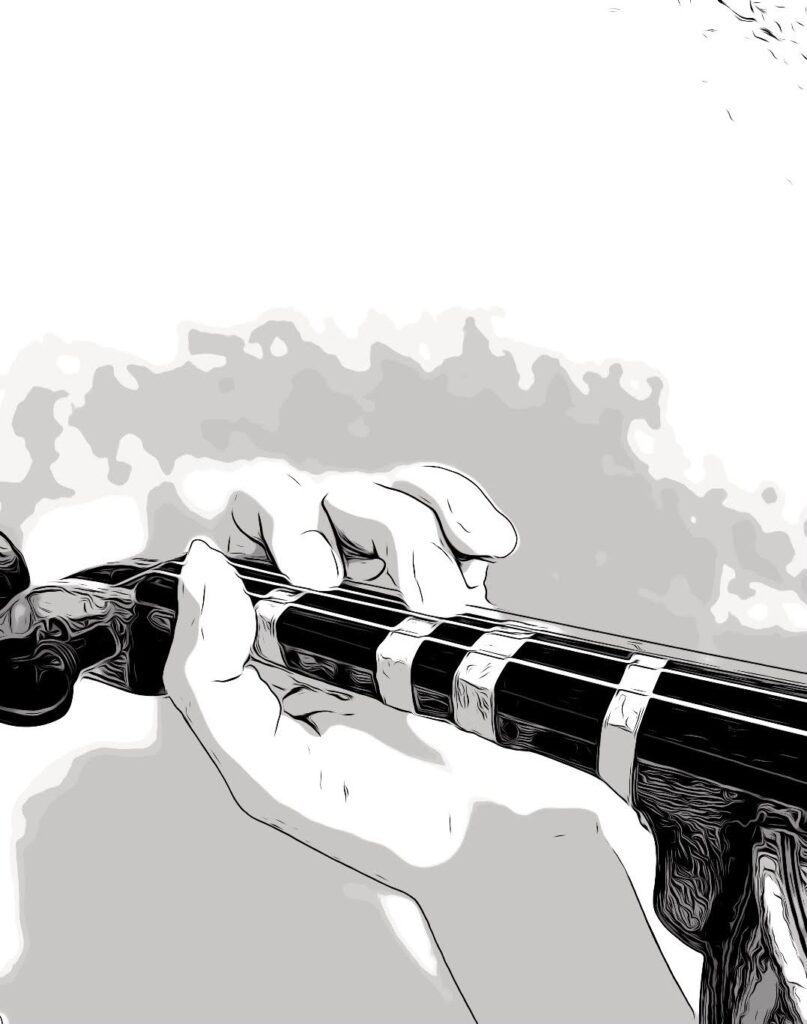

D note on A string
As you can see, the distance between the second and third fingers is shorter than between the first and second fingers. This is because the D note is only a half step higher, which keeps the second and third fingers placed very close to each other and slightly touching.
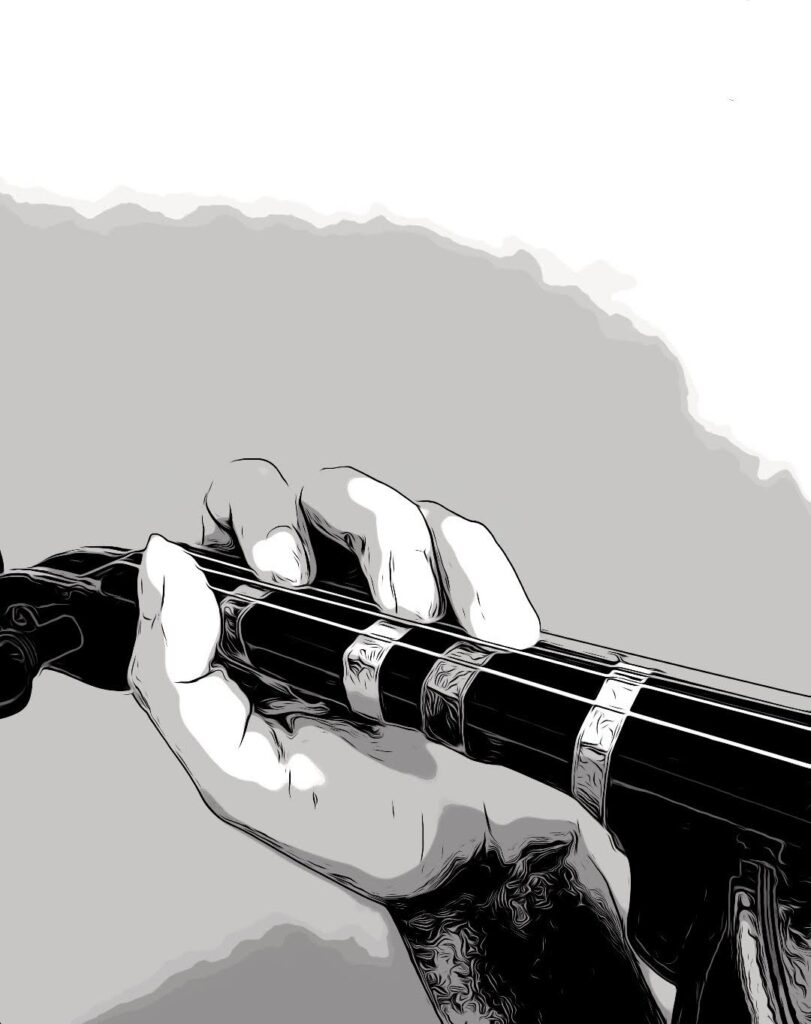

Playing note E on A string
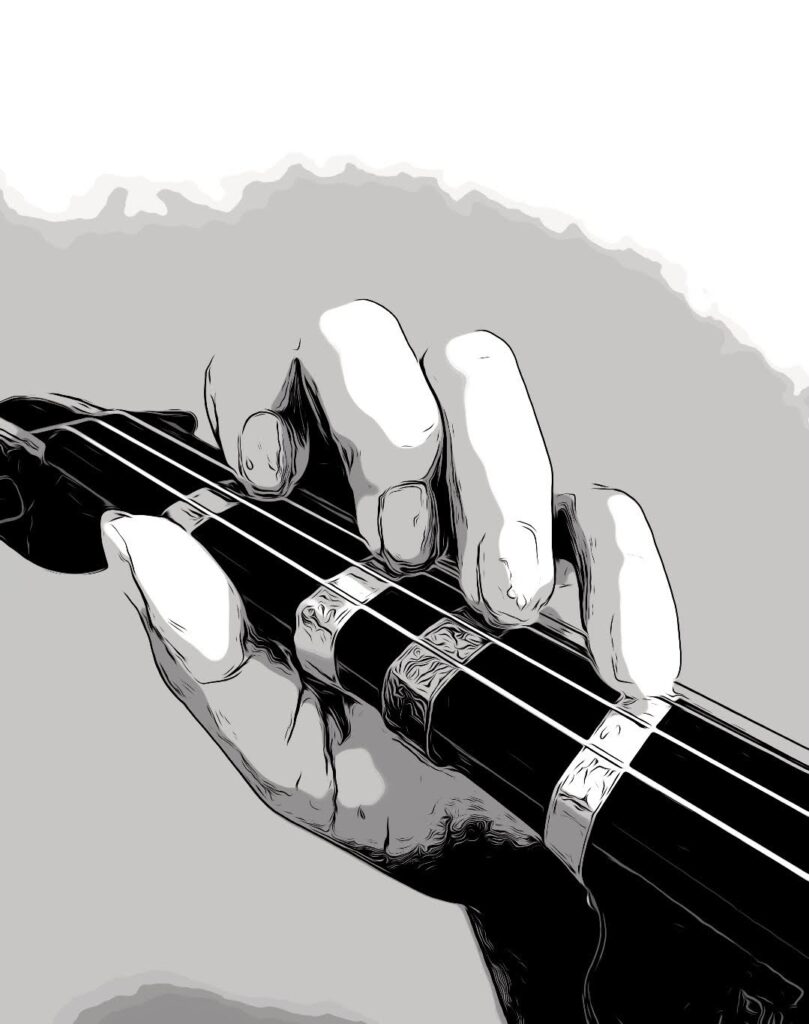
You will need to move your pinkie finger knuckle closer to the fingerboard if you have a smaller hand or shorter fingers. The pinkie remains rounded and close to the fingerboard. Avoid tension and don’t panic. The pinkie finger is the weakest finger and requires a little bit of practice.

More about:
Violin fingering- G string pinkie placement- read here
How to hold a violin bow for beginners- read here
Vibrato on violin: How to do it effortlessly
I would love to answer any questions related to violin lessons and violin playing. You can email me at [email protected] or book your free trial lesson here.


